Readers like you help support Explaining Android. When you make a purchase using links on this site, I may earn an affiliate commission.
Recovery Mode is yet another one of the popular special boot modes that are included on just about every Android smartphone and tablet. I have already shown you how to access the Pixel 9 Fastboot Mode menu and you’ll need to know how that is done unless you want to use the ADB command.
There are two methods we can use to access Recovery Mode on the Google Pixel 9 series and I’ll go over both methods here today.
What is Recovery Mode?
Recovery Mode is a special boot mode on Android that helps you to recover the Android operating system back to its factory default. Some may think that they can use this to help restore their previously deleted photos or applications. But that is only possible if you’ve created a NAND backup using a custom recovery.
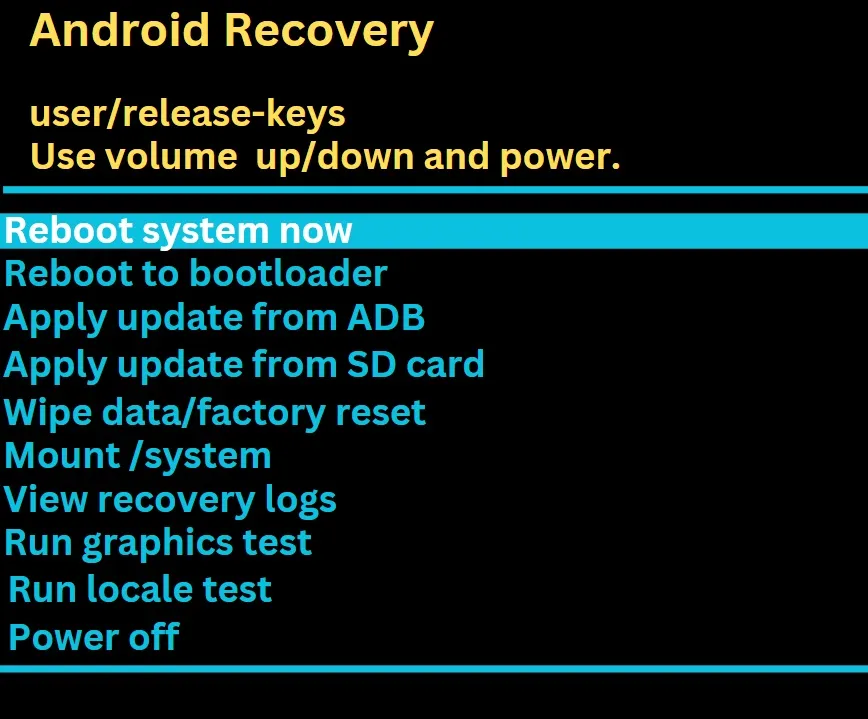
Instead, there are some useful features tucked away here like…
- Reboot System Now
- Reboot to Bootloader
- Enter Fastboot
- Apply Update from ADB
- Apply Update from SD Card
- Wipe Data/Factory Reset
- Mount /system
- View Recovery Logs
- Run Graphics Test
- Run Locale Test
- Power Off
Most people will want to access the Pixel 9 Recovery Mode menu to perform a factory data reset or to sideload an OTA update. But it’s also a great way to run some diagnostic tests and to access the /system partition when the phone will not boot into Android.
How to Access Recovery Mode on the Google Pixel 9
As mentioned, there are two ways this can be done, so let’s first talk about the most common method.
- Reboot into Fastboot Mode.
- Select the Recovery Mode option.
- Wait for the broken robot splash screen.
- Then press and hold the Power button before immediately pressing the Volume Up button.
- Let go of all buttons once you see the Recovery Mode menu appear.
Getting the timing on all of this correct can take some practice, so let me show you how it’s done with a video.
There’s also an ADB command that we can use. This method requires you to have ADB & Fastboot tools installed. You will also need to have USB Debugging Mode enabled as well. But with all of that done, go ahead and connect the phone to the PC with a USB cable. Launch a Command Prompt, Terminal, or Windows PowerShell in the same folder as your ADB & Fastboot tools.
Then you’ll want to execute the following command…
adb reboot recoveryAs long as you have granted USB Debugging access, then you’ll see the Google Pixel 9 Pro reboot and take you directly to the splash screen mentioned above. So you’ll still need to perform the Power button & Volume Up button combo to bypass it.
But once you get to that familiar menu that you see pictured above, you can then begin to use the hardware buttons to navigate the menu. These buttons are required since you cannot interact with the Pixel 9 Recovery Mode menu using the touchscreen. So you want to press the Volume Up or Volume Down buttons to change which option is highlighted. Then you can press the Power button to select that option.
Conclusion
Accessing Recovery Mode on the Google Pixel 9 Pro Fold is easy once you know what you’re doing. Just make sure you aren’t messing with anything in this menu that you aren’t already familiar with. You would be upset if you erased everything on your smartphone before you were able to backup your important data ahead of time.